
Headings in Outlook
Headings can be applied using the Styles gallery on Outlook for both Windows and Web. Outlook for Mac does not currently provide a Styles gallery when composing emails; instead, headings are managed with paragraph formatting. To apply heading styles in an email:
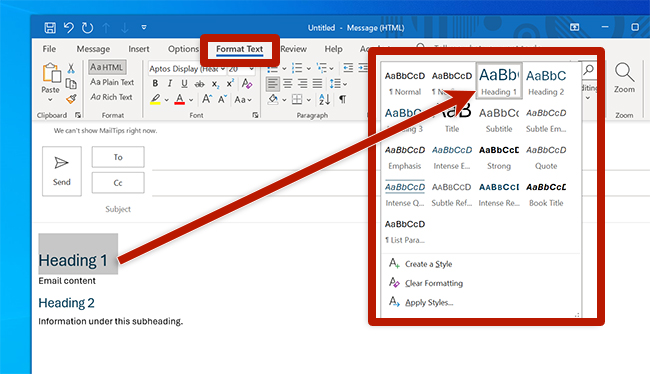
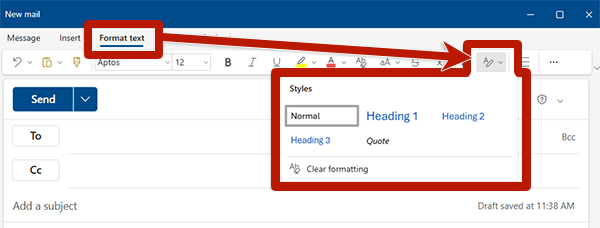
- Select the Format Text tab.
- Select a line of text in the email.
- Select the desired heading style from the Styles gallery.
Outlook:
New Outlook:
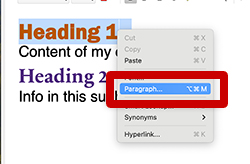
- Select a line of text in the email.
- Right-click the text.
- Select Paragraph…
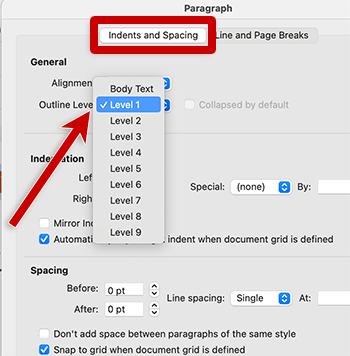
- In the Indents and Spacing tab, update the Outline Level to your preferred heading level. Level 1 creates a level 1 heading (H1). Setting an outline level does not modify the font style. Customize the font size and weight to visually indicate the heading.