Imagery
Video and Motion
Planning video and motion graphic styles at the beginning of a project can inform the technical choices you make throughout the process.

The needs of any given video project can vary drastically. Some content needs to feel polished and cinematic, while other needs to feel more authentic and raw. Thinking about video and motion graphics style on brand spectrums can help determine stylistic choices made in video and content production. See the Digital Accessibility website for video and audio concepts.
Characteristics of Video Styles
Ultimately, the story guides the direction of the video shoot. If it is a high-energy story, use a handheld camera for a more "run-and-gun" style of shooting. If it's a sentimental story, smooth shots with a stabilizer, such as a gimbal, will be more appropriate. Use color-graded scenes to achieve particular visual styles.
Interviews
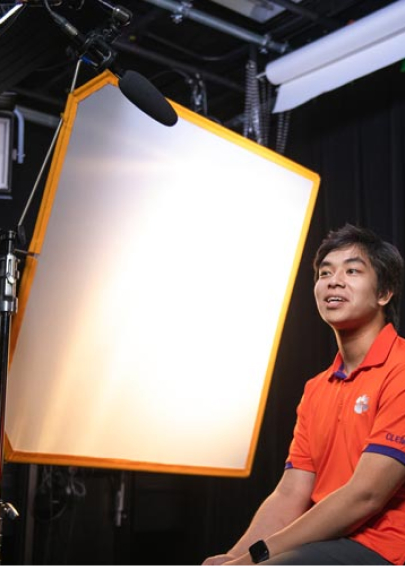
Set up a tripod or monopod at eye level or lower for interviews. Never train the camera to look down on a subject.
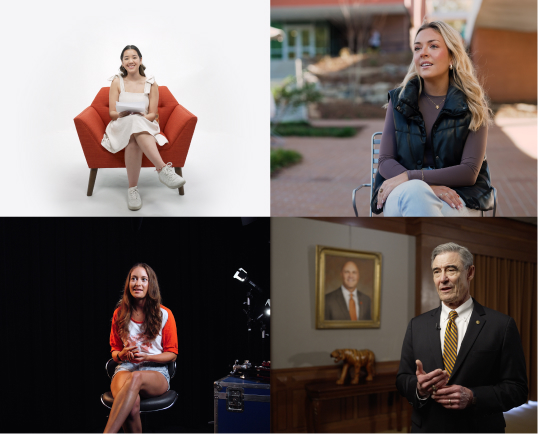
If time permits, the video team should set up lighting to capture the subject. If not, place the subject in the best possible lighting scenario. Regardless, the lighting should always be properly exposed, and nothing in the background should be overexposed.
Shadows should show depth; shoot into the shadows on the face of the subject. The separation between the subject and the background should be clear, which is achieved by a combination of lighting and background blur.
B-Roll
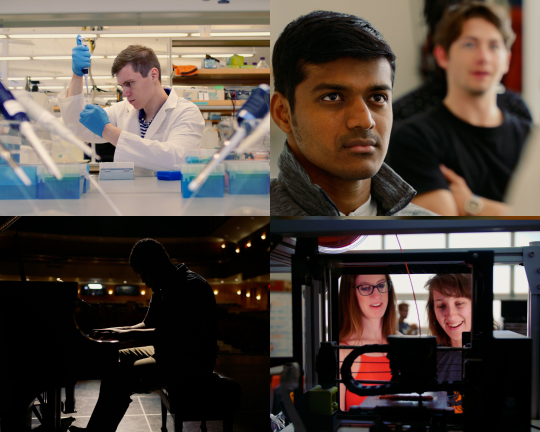
B-roll shots are intentionally planned-out shots and should follow continuity within the primary scene. For example, if the scene is bright, keep it bright. If the scene is in the shadows, remain in the shadows. It is essential to have correct exposure with proper lighting.
To obtain a diversity of shots, use a mixture of tight and wide shots to tell the full story. Tight shots help show details, while wide shots establish a larger scene. The more diverse the shots, the more flexibility there will be in the editing stage.
Best Practices for Motion Graphics
Easing
- If objects or graphics are starting or ending while visible in the frame, use ease in and out.
- Slides, fades and zoom-outs are graphic brand animation styles.
Transitions
- When possible, use crisp cuts, pushes and slides.
- Avoid using different types within a single piece.
Proportions
- Proper proportions for branding should be 40 of height vertically for 16:9, 1:1, 4:5 and 9:16.
Best Practices for Video
Filming Best Practices
Dimensions for Widescreen or HD Crop
- 16x9
- 1920x1080 or 3840x2160
- 2:39 (anamorphic widescreen)
- 1920x803
Focal Length
Contrasts in focal lengths make cuts feel more intentional and create more movement between shots, which allows us to better train the audience's eyes on what we want them to look at.
- 70-200 for tight shots to show detail.
- 16-35 or 16-28 (ultrawide) for wide establishing and environmental shots.
- When only one lens is available, use a 24-70 for a mix of tight and wide focal distance options.
Prime lenses, or fixed lenses, are used to achieve a more artistic aesthetic by creating more background blur. These lenses have a much lower aperture than zoom lenses. Use in low-light scenarios.
Composition and Resolution
The shutter speed needs to double the frame rate. Shoot in 4k, 60p if possible and edit in 1080p. This enables slowing the footage down if needed for both vertical and horizontal crops. Export in 1080p if file storage and management are a concern. Only export in 4k if requested by the client.
Audio Best Practices
Microphones and cables should never be visible. To capture clean audio, in most cases, a lavalier microphone can be hidden on a subject. Alternatively, a shotgun mic can be used off-camera.
Keep the room acoustics in mind prior to shooting. Select a quiet place without a lot of other activity or noise that could be distracting.
Monitor the audio throughout the shoot, and make sure the audio is not peaking.

Editing Best Practices
Short-Form Video Editing
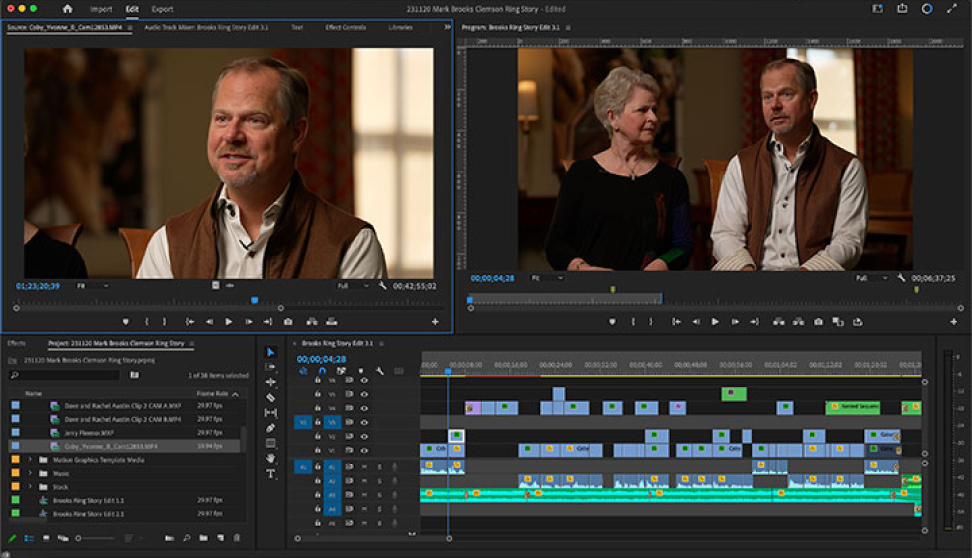
Having an idea of what the goal end-product is prior to the shoot will make the editing process easier. The first three seconds of a short-form video should engage an audience and capture the takeaway of the entire piece.
Cinematic or Interview Video Editing
An opening sequence should establish the environment/setting prior to introducing dialogue. After revealing the speaker, the remainder of the video should incorporate both b-roll and interview shots. Always include a strong closing that ties the entire piece together.

A Note on the Tiger Paw
When using the Tiger Paw logo, use the provided PNG or MOGRT file to have the proper sizing and color for branding purposes.
Video Transcript
0:00-0:01
The word "Ease Out / Ease In" in white over an orange background move from left to right. A timeline at the bottom shows the speed increase in the middle of the animations.
0:01-0:02
The word move back to the right.
Video Transcript
0:00-0:02
A white tiger paw logo appears on an orange background and stays in the middle of the frame. A timeline at the bottom shows the speed increase in the middle of the animation.
Video Transcript
0:00-0:01
A professor and student work on an architecture project as the camera slowly moves left.
0:01-0:02
A quick cut and we now see a close-up of professor holding a model as the camera slowly moves to the right.
Video Transcript
0:00-0:01
A professor and student work on an architecture project as the camera slowly moves left.
0:01-0:02
The first shot slides off to the right and we now see a close-up of professor holding a model as the camera slowly moves to the right.
Video Transcript
0:00-0:03
The camera moves toward two students working in a brightly lit room.
Video Transcript
0:00-0:04
A handheld closeup of a student's hands holding a cell phone and taking notes.


